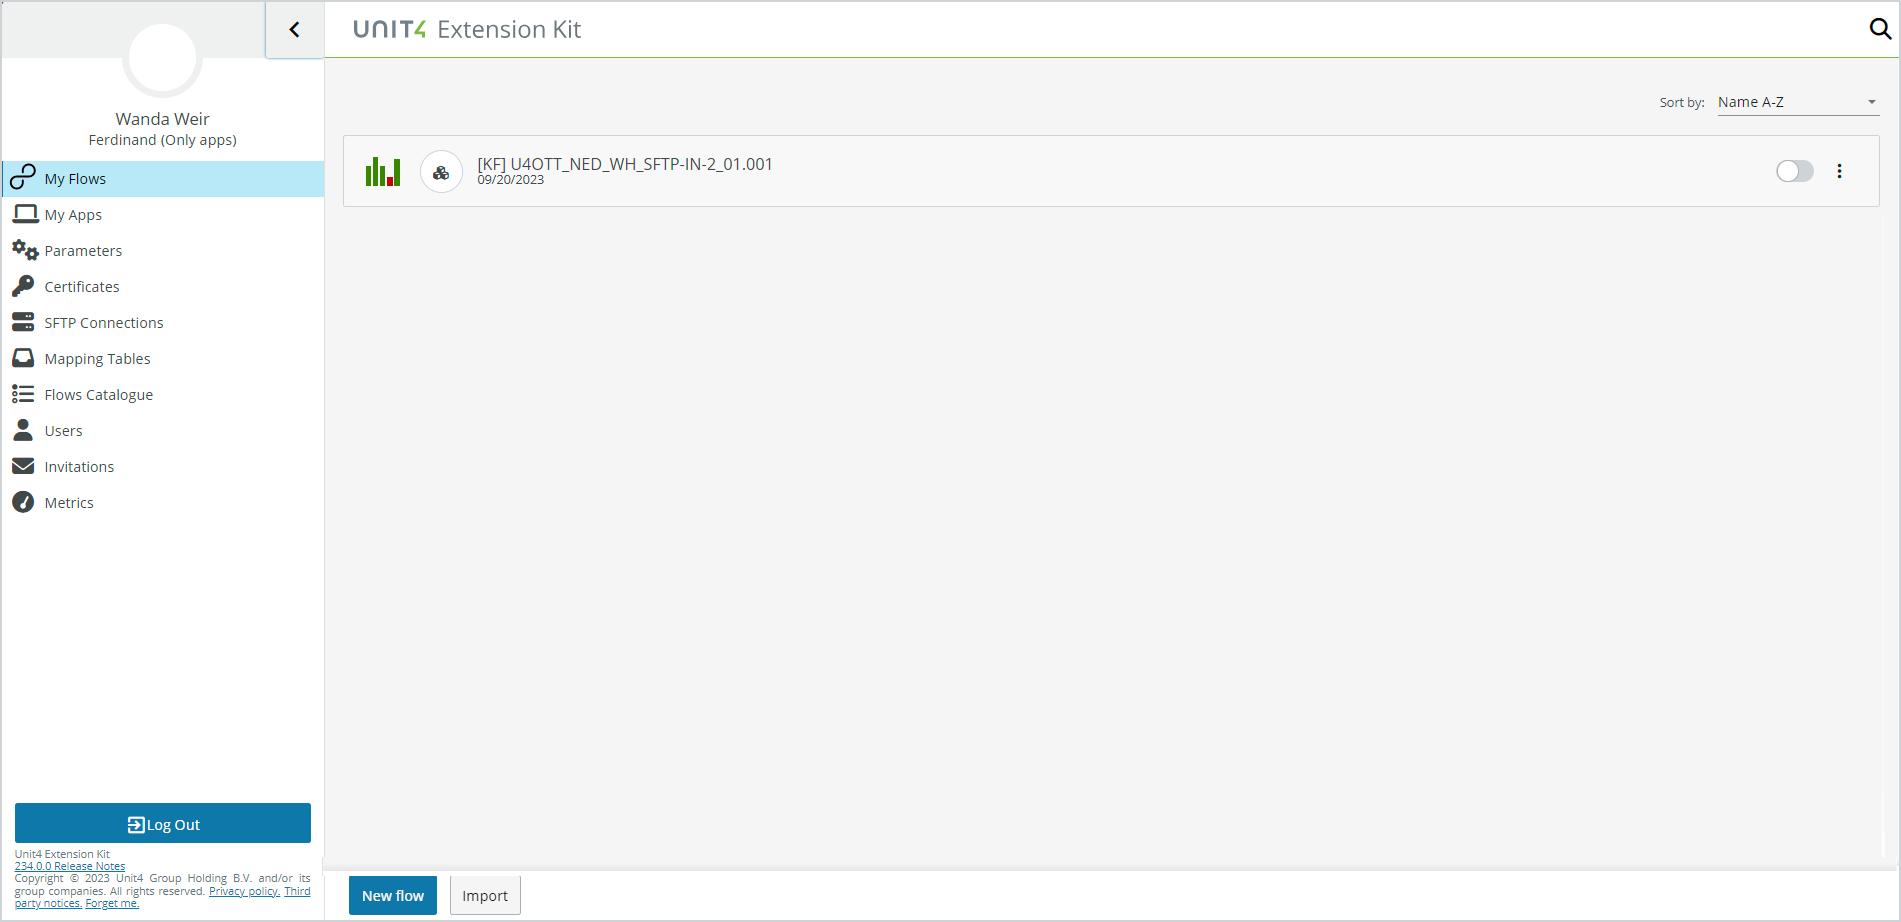
Create a flow
To create a flow simply click the New flow button in the footer toolbar:
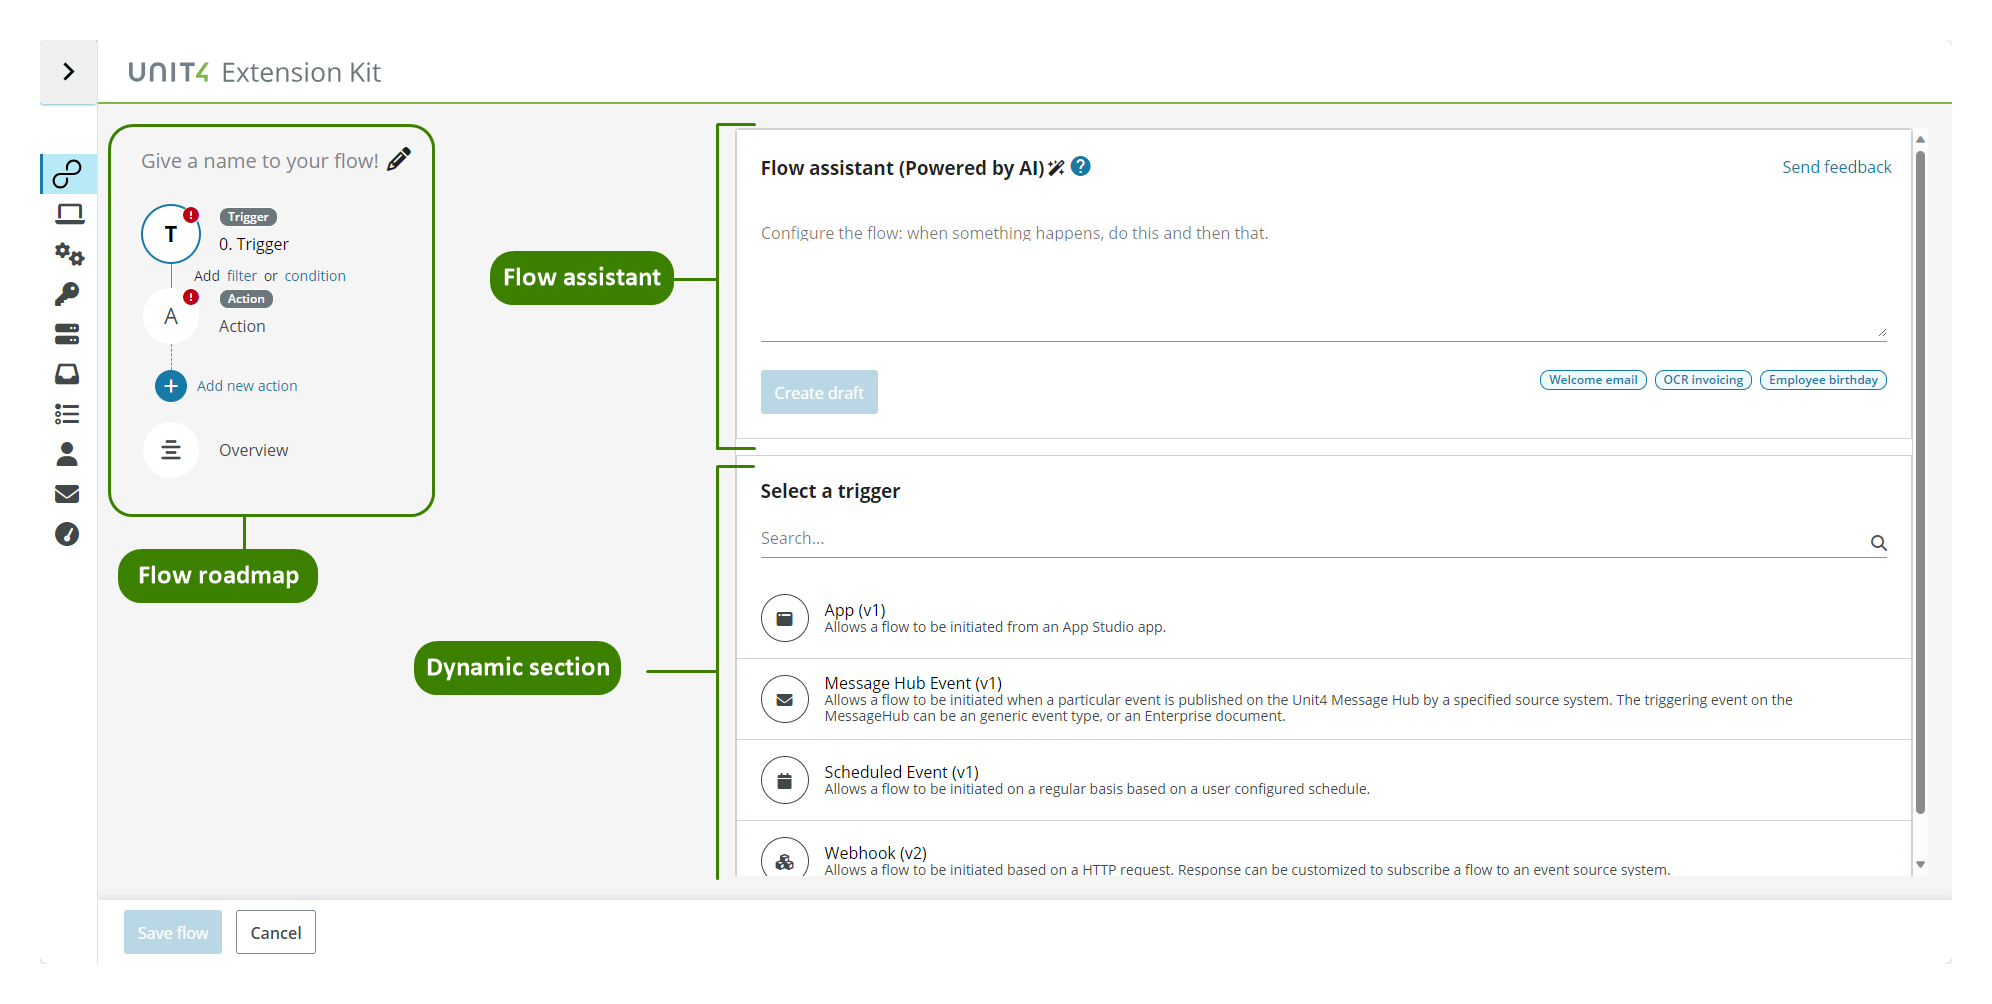
A new page appears containing three sections:
-
The section on the left defines the roadmap of the flow and has the following subsections:
- Trigger: Here you can select and configure the trigger part of the flow.
- Add filter: This section is dynamic, it can be defined or not and allows you to stop a flow depending on the output of the previous step of the action associated with. This way the flow will react to more specific events.
- Add condition: Also dynamic, this section can be defined or not and allows you to conditionally skip the action it is associated with.
- Action: This is where you define how to act when an event is triggered. This section must contain at least one action.
- Overview: This provides a summary of the state of the flow at any moment.
-
The Flow assistant section is a beta AI feature designed to help you to automatically configure your flows. It is only available in preview. See Flow assistant for more details.
- The section on the right side dynamically changes depending on what section you choose on the left, allowing you to enter values relevant only to the currently chosen area.
Name your flow
You must give your flow a name before you can save it. Enter a name in the area at the top of the section on the left side after you have started to create a new flow. Consider a good descriptive name as this will be its identifier inside the portal after you save it.
Note: You must follow the naming convention for the flows created in Preview and Production environments as shown in the example below:
[Owner]-[ShortName]-[FlowName]-[FlowType]-[Version]
Flow naming convention
- Owner - U4 (for example, if the flow was created by Unit4)
- ShortName - Short Name of the tenant Id given in the Portal
- FlowName - Short name of the trigger (for example, SE - Scheduler Event, MH - Message Hub Event, WH - Webhook)
- FlowType - Type of the flow (for example, - employee, if the flow uses the Employee object in the ERP public API)
- Version - Current version of the flow
Example flow name
U4-EUN-PLW-PREV-MH-EMPLOYEE-01.001
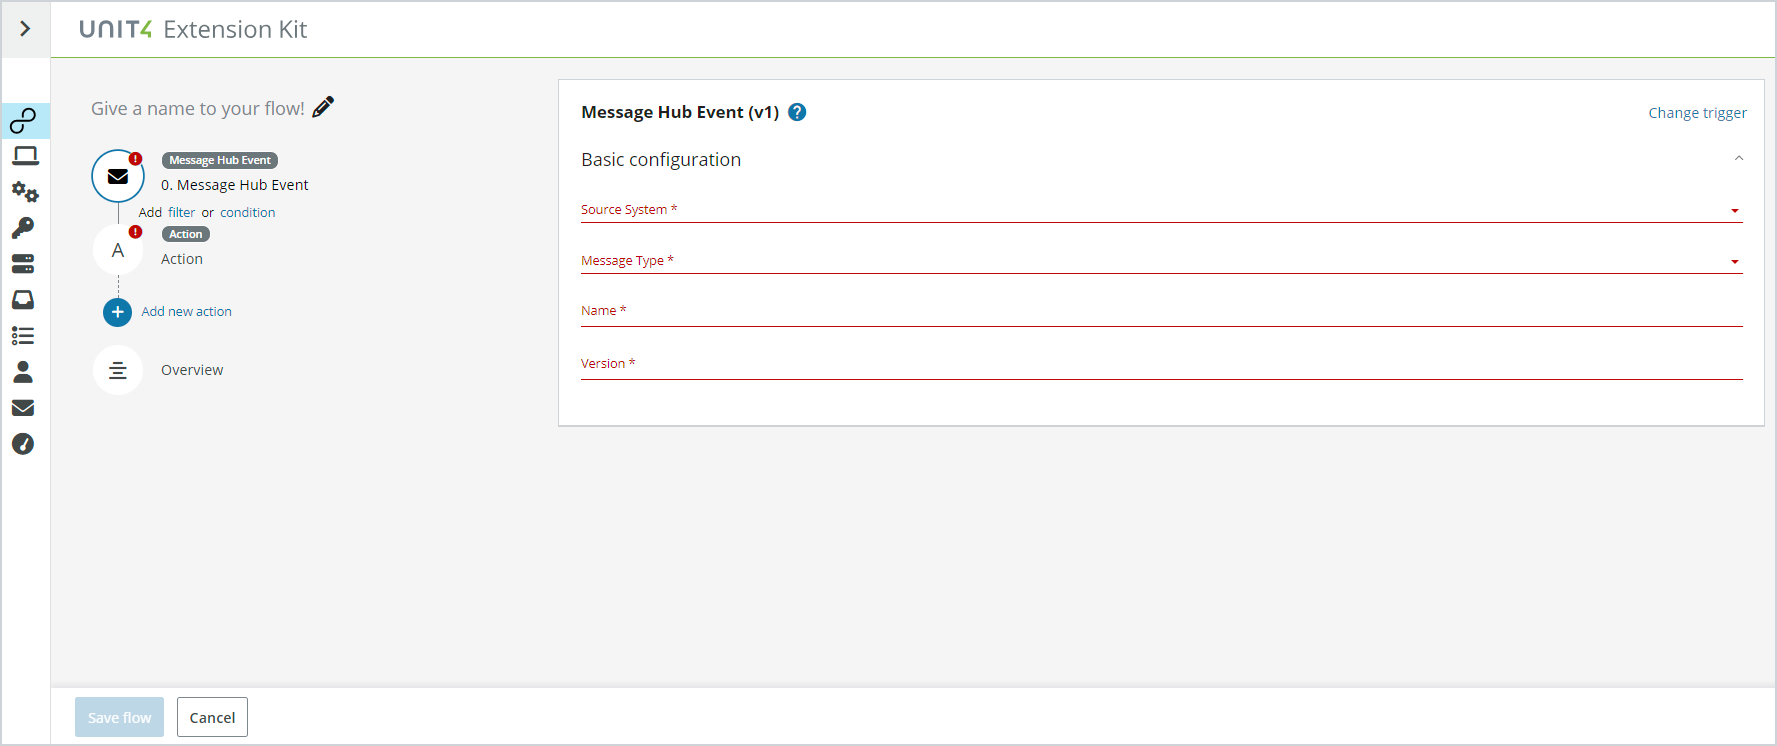
Triggers
You can use the Flow assistant or create a new flow selecting what type of trigger to use. Your choice of trigger defines what will start your flow.
When you select the Trigger node the following window appears where you select the trigger type.
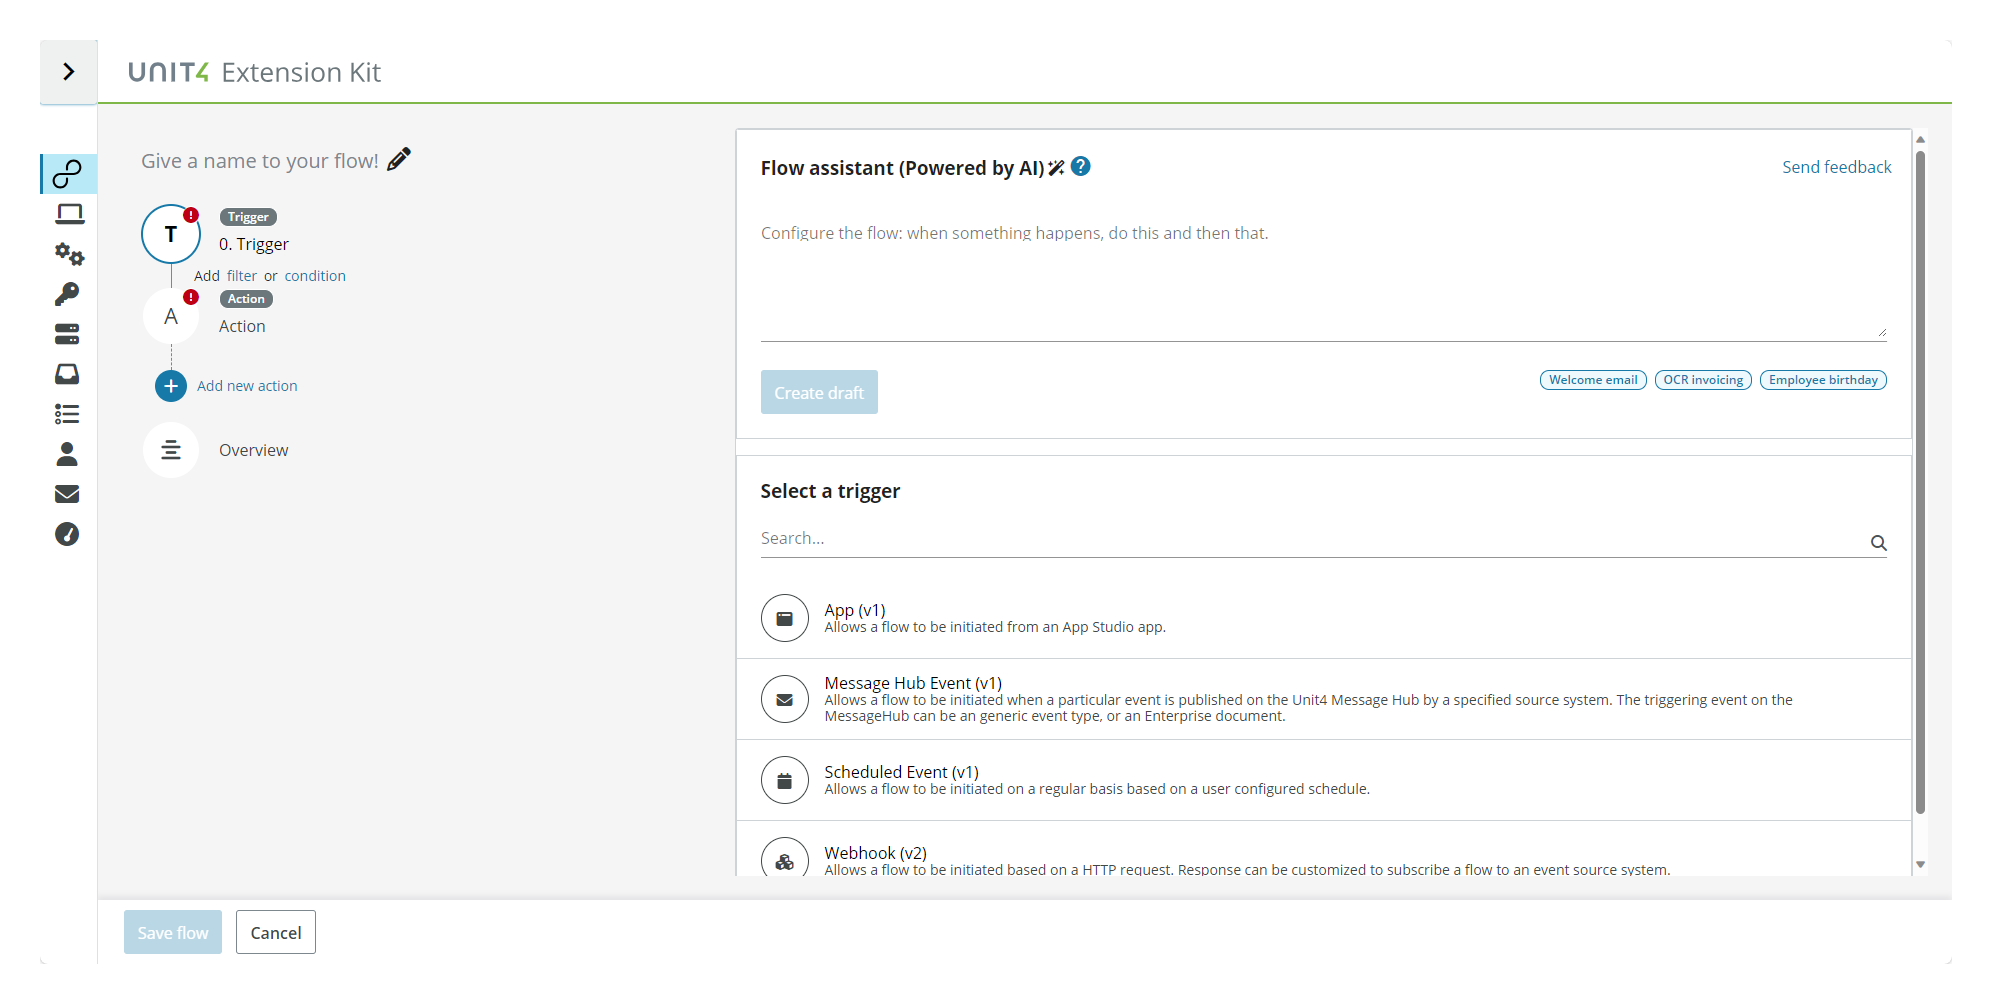
Note: System administrators can add more triggers than the ones shown here.
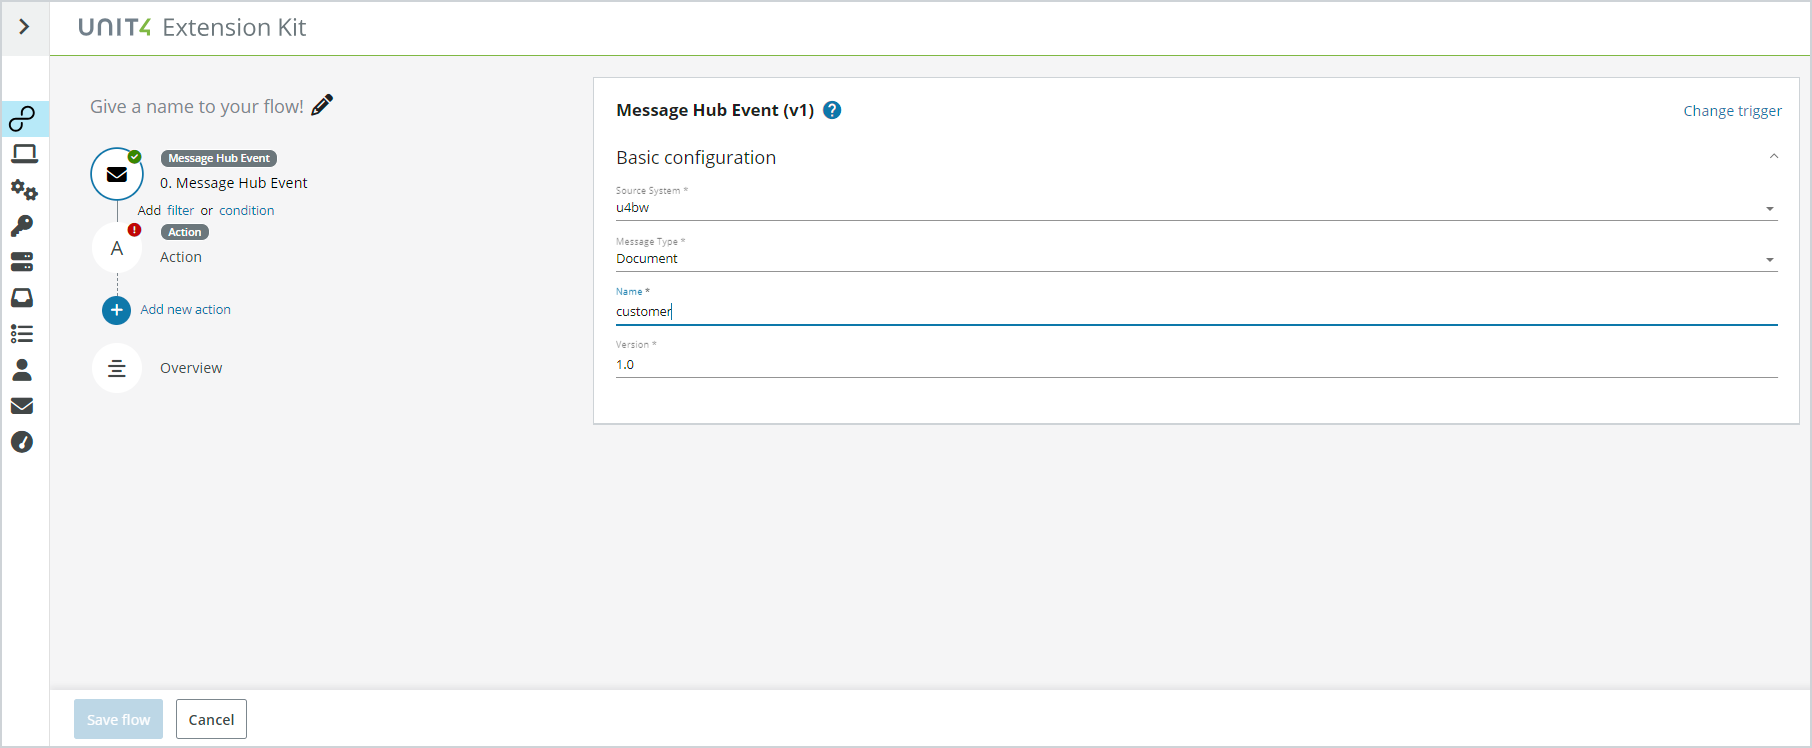
To create a trigger, first select the type of trigger and then configure it by entering the relevant properties. These are dynamic and will differ according to the type of trigger you configure.
Note: You can go back and change the trigger type after having entered the configuration section using Change trigger in the upper right corner.
When all the required information is provided the Trigger step is marked with a green checkmark in the section on the left.
Actions
Action steps
The action section is divided into three steps, Action assistant, action selection and configuration of the selected action.
You can navigate between these sections at any time if you decide to change the action to be used.
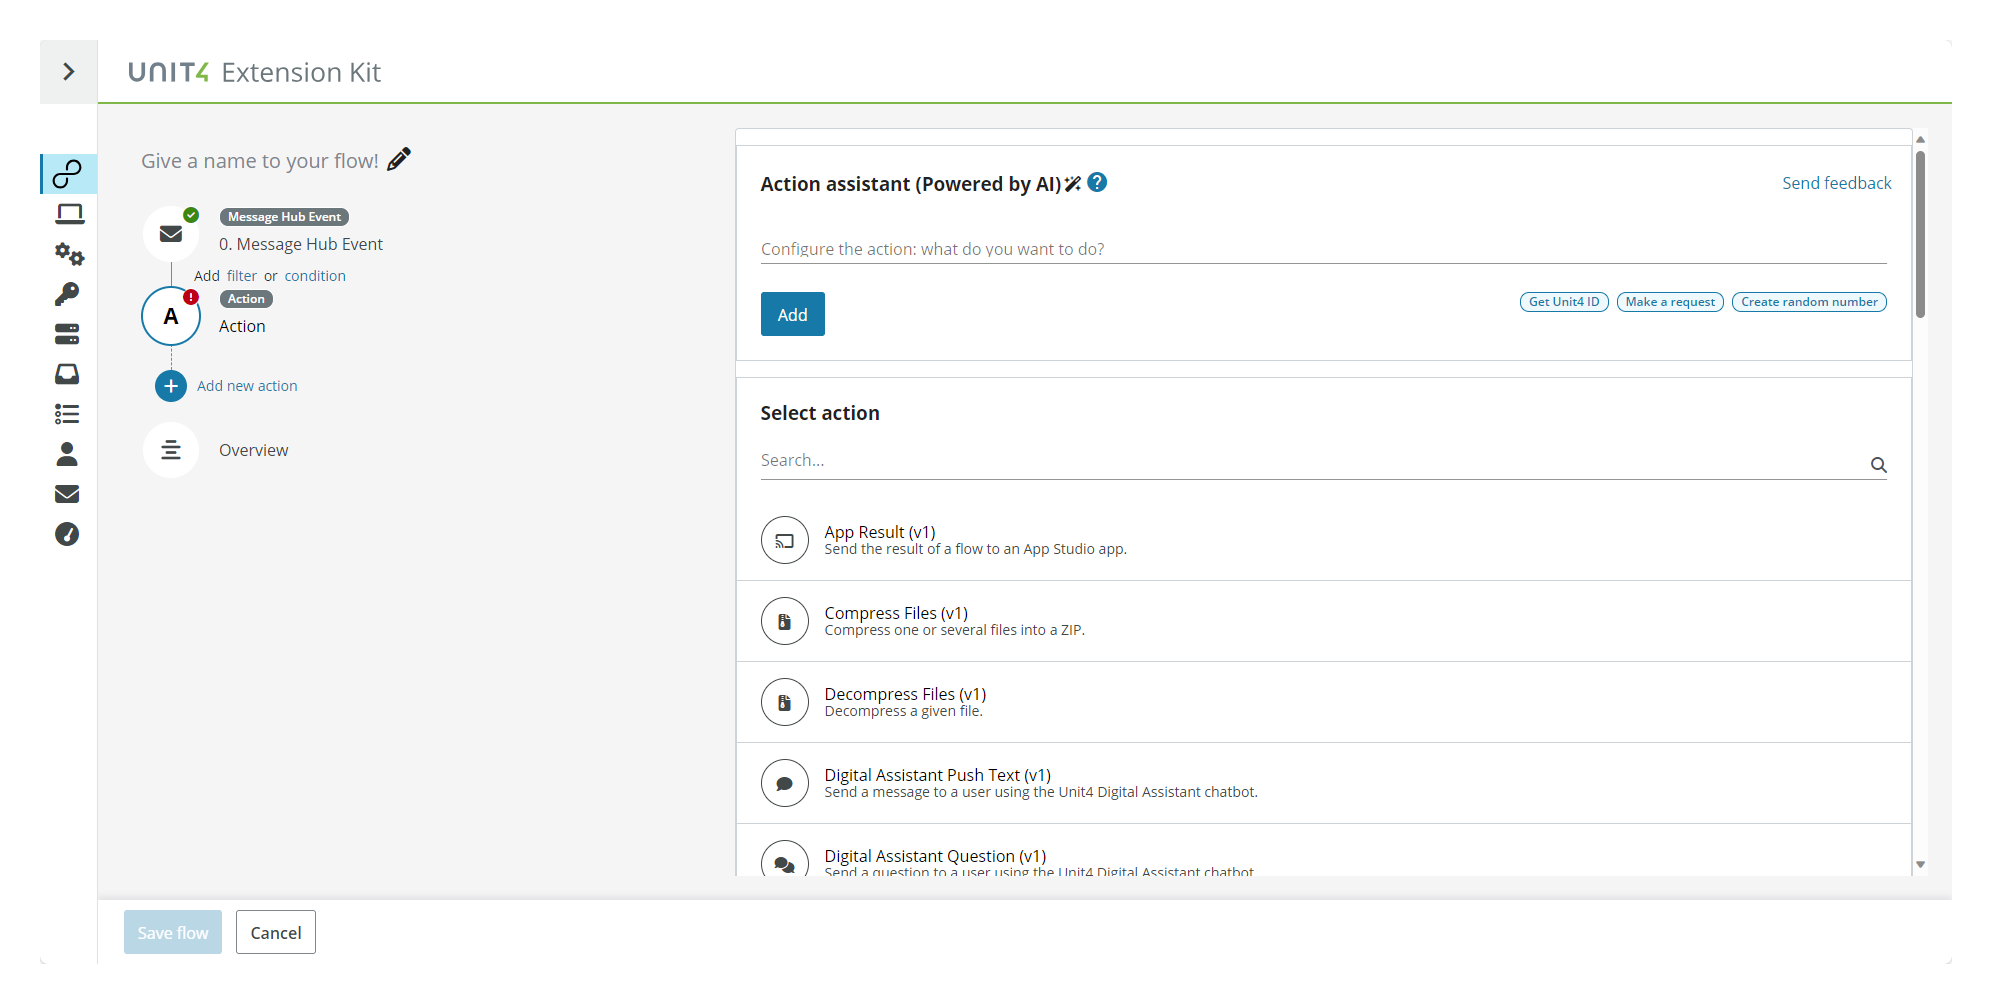
Preview Action assistant
A new feature Action assistant is available on preview environments. This feature aims to simply the process of creating actions by using AI and natural language processing to create an action based on a textual description of the action.
For more details, see Action assistant.
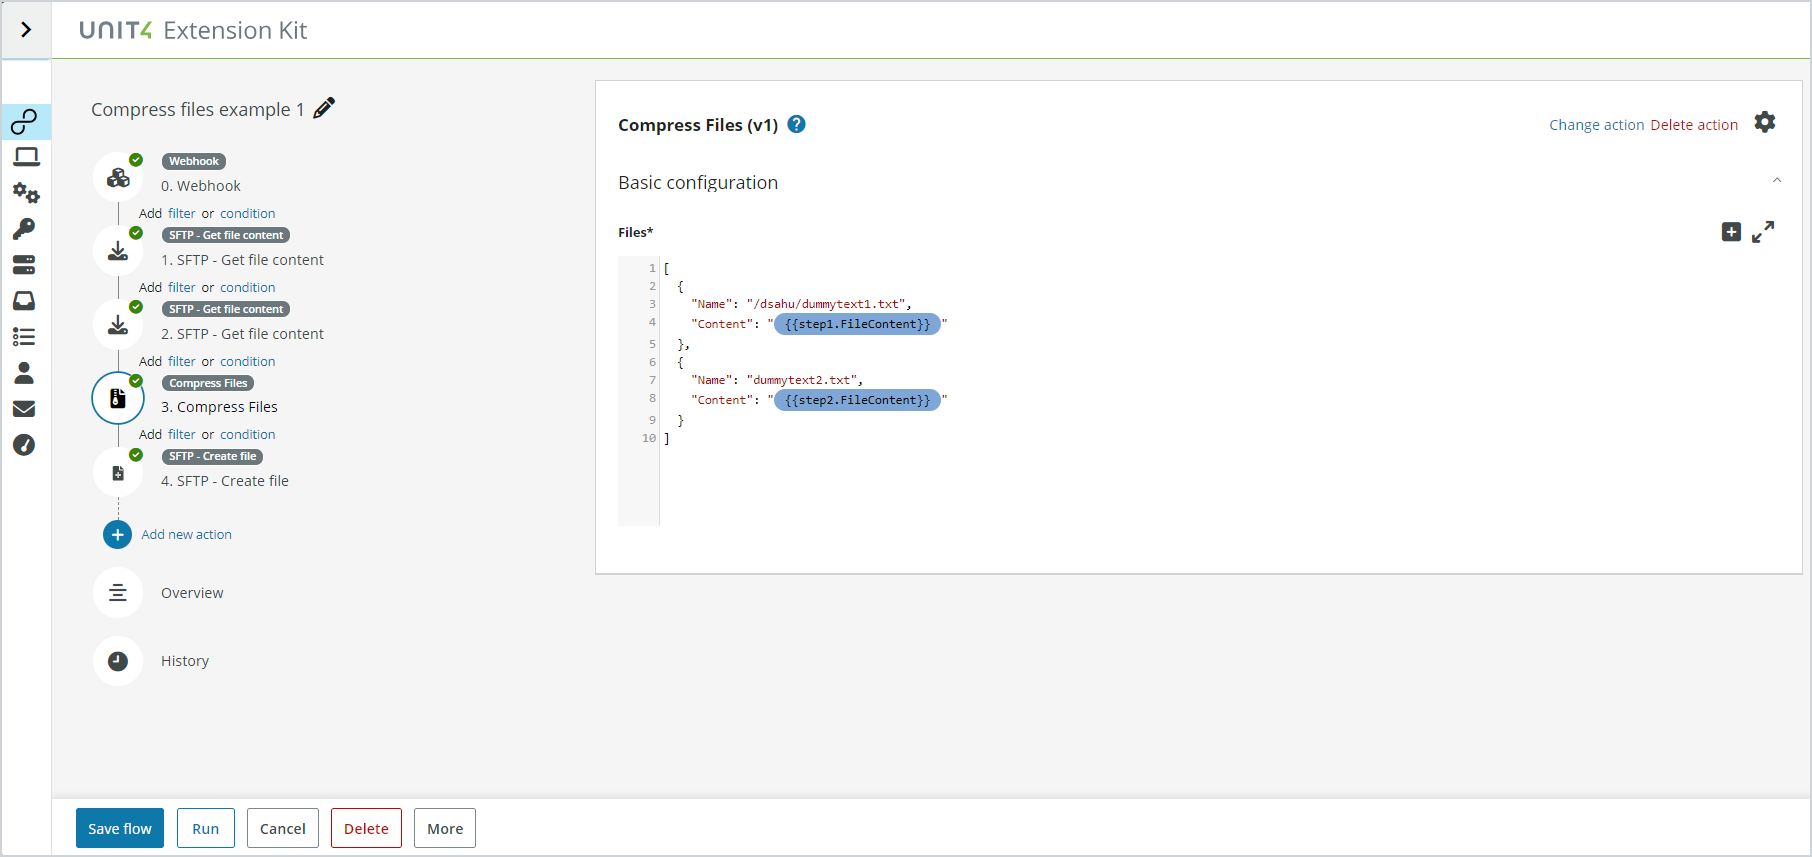
Action configuration
The action configuration section shows all the required fields needed to set up the action.
If you need to use some data from the input, you add the input name inside double curly braces (for example, {{Step0:SomeData}}). When the focus is lost from the input, these input data fields are rendered as chips. If the specified input is already known it is light blue, otherwise it is dark blue.
Additionally, suggestions are added depending of the output of previous steps so you do not need to remember the structure of the input data.
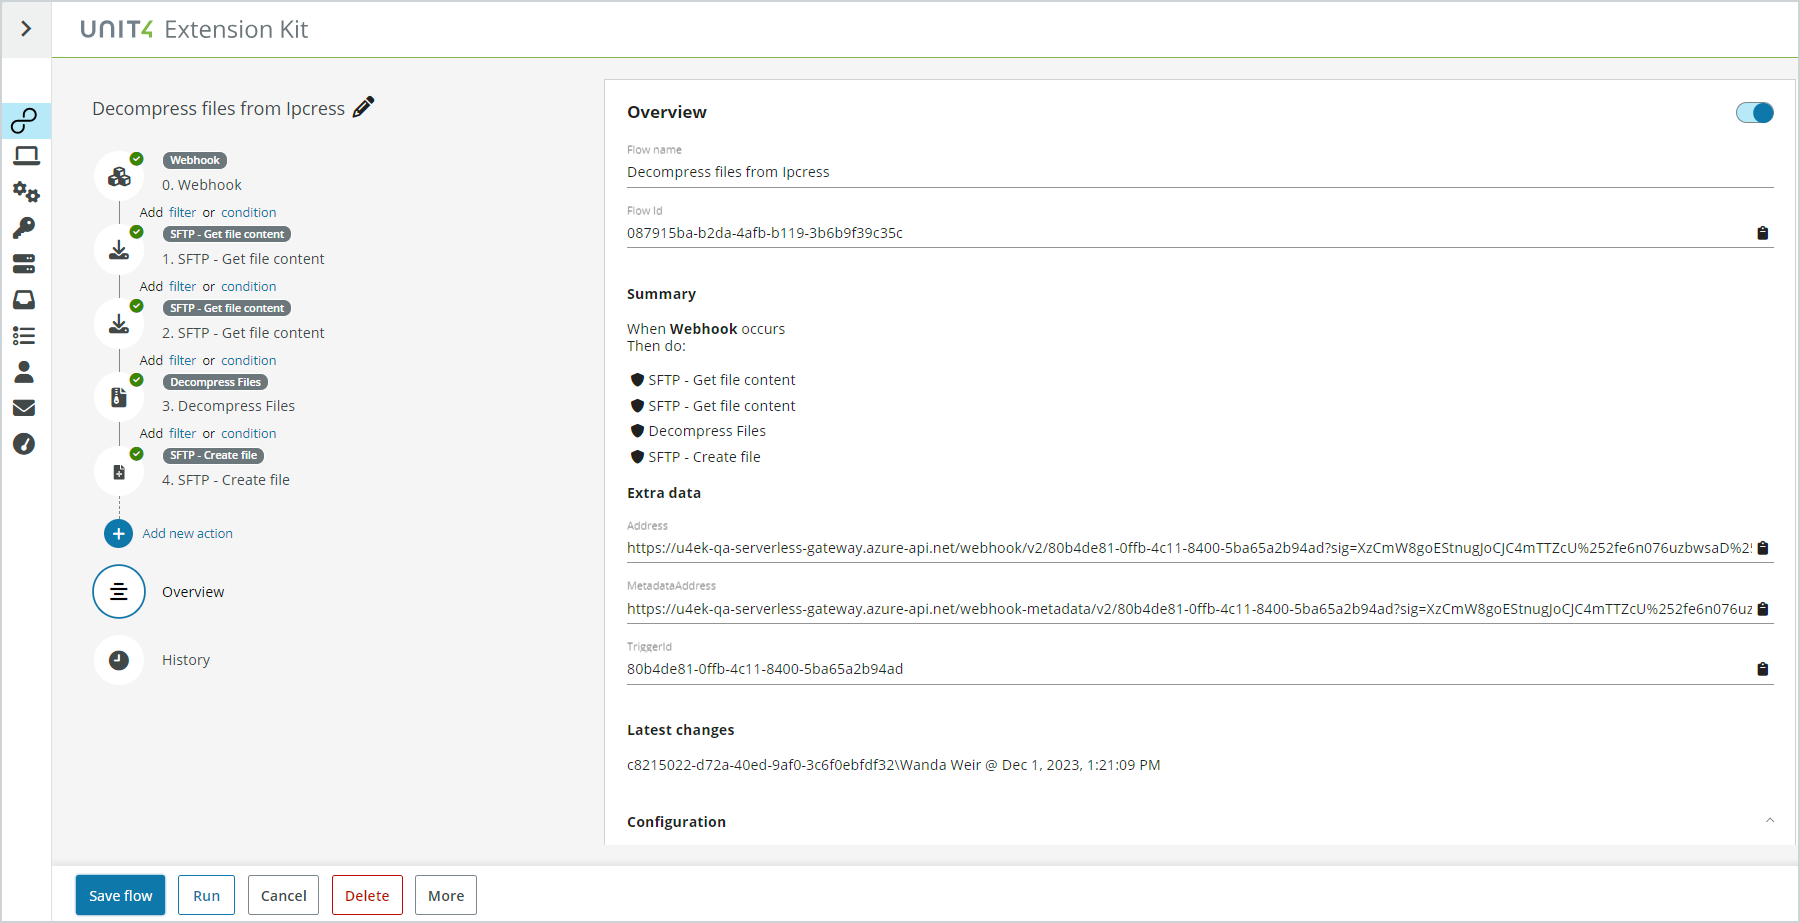
Overview
This section provides a summary of everything you have configured during the flow creation process:
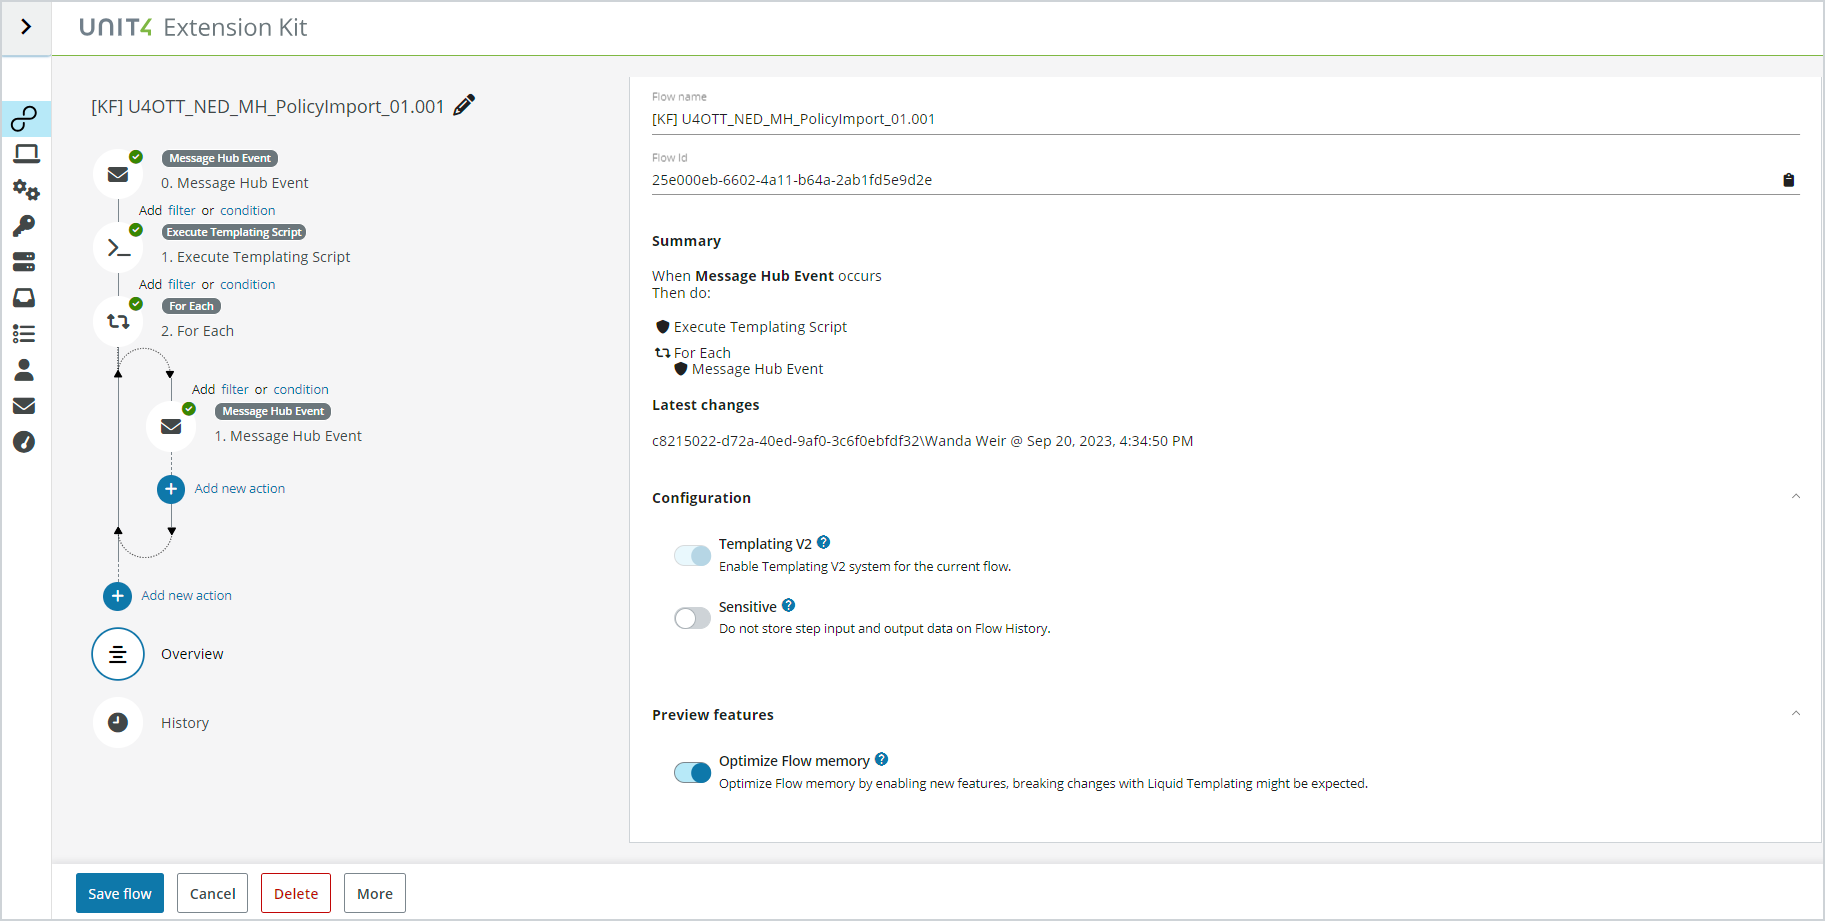
The Overview section shows:
- Flow name
- Tenant ID
- Flow ID
- Summary of the various actions included in the flow
- Latest changes
- Configuration settings for:
- Templating V2
- Sensitive
- Static IP (available only when activated as a feature by Unit4)
- Any available preview features
You can only save a flow if the name, trigger and all actions are properly defined.
Rename action name
At any time, an action name can be changed. When you add a new action, a default name is set. To change it, click on the name, write the custom name and select Save flow to save the changes.
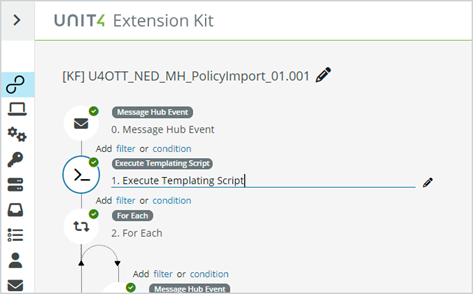
The custom labels are then displayed in the Overview section.
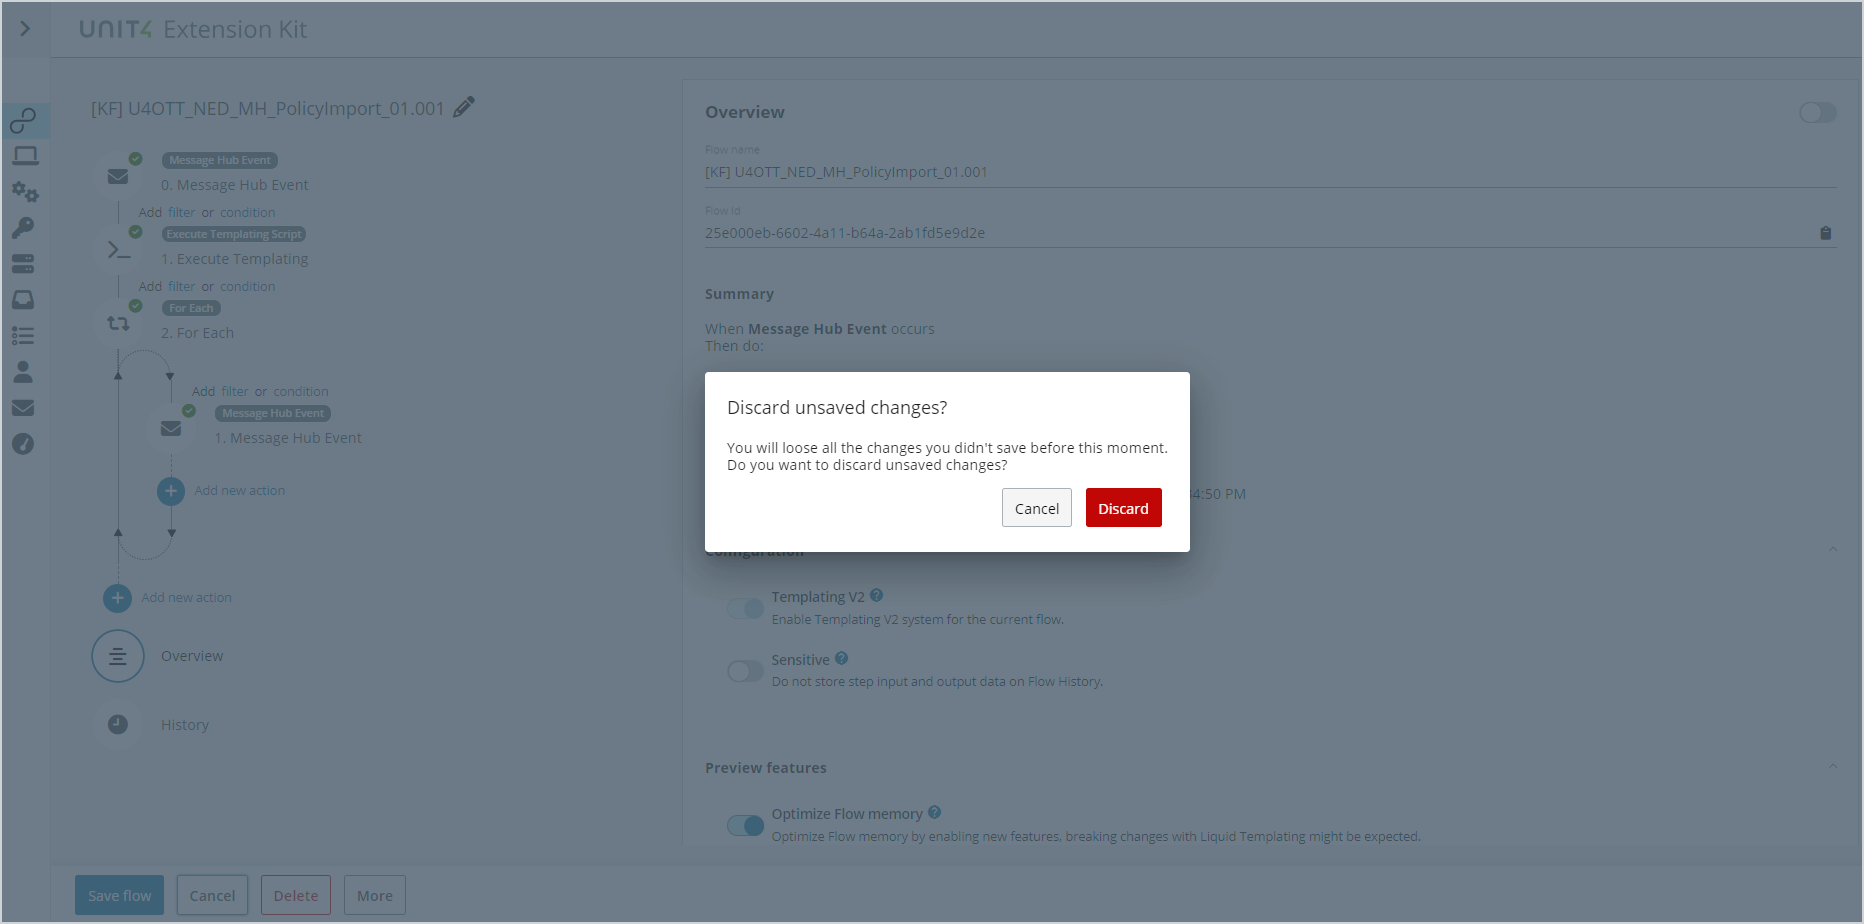
Exiting flow creation
If you decide to leave the creation process, click the Cancel button and a confirmation window appears prompting you to leave the process.
Extra data
If the triggers generate extra data for the flow to be run you are notified after saving the flow and the extra data is shown in the overview.